Tags :
Case Studies,Engineering & Construction,Solar Project Construction Lifecycle

1,310 kW DC / 1030 kW AC
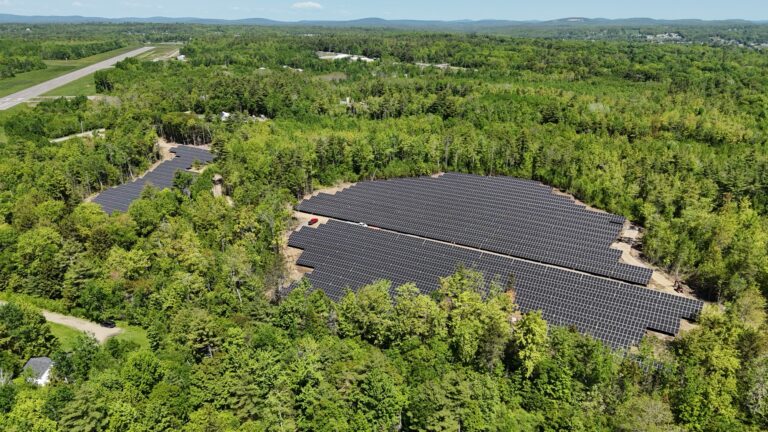
Eagle Nest was a collaborative venture by Syncarpha Capital, Kit Carson Electric Cooperative, and Guzman Energy. Constructed by ParaSol and operational in September 2018, this project uses tracker technology and was Syncarpha’s first project in New Mexico.
The lifecycle of a solar plant involves meticulous planning, precise execution, and a series of coordinated steps to ensure successful completion. Each stage, from development and pre-construction to utility pole installation, plays a vital role in creating a functional and efficient solar energy facility. By understanding and following these stages, Syncarpha Capital ensures the delivery of high-quality solar projects that contribute to a sustainable future.
The journey of a solar plant begins long before the first piece of equipment arrives on site. The development and pre-construction phase involves:
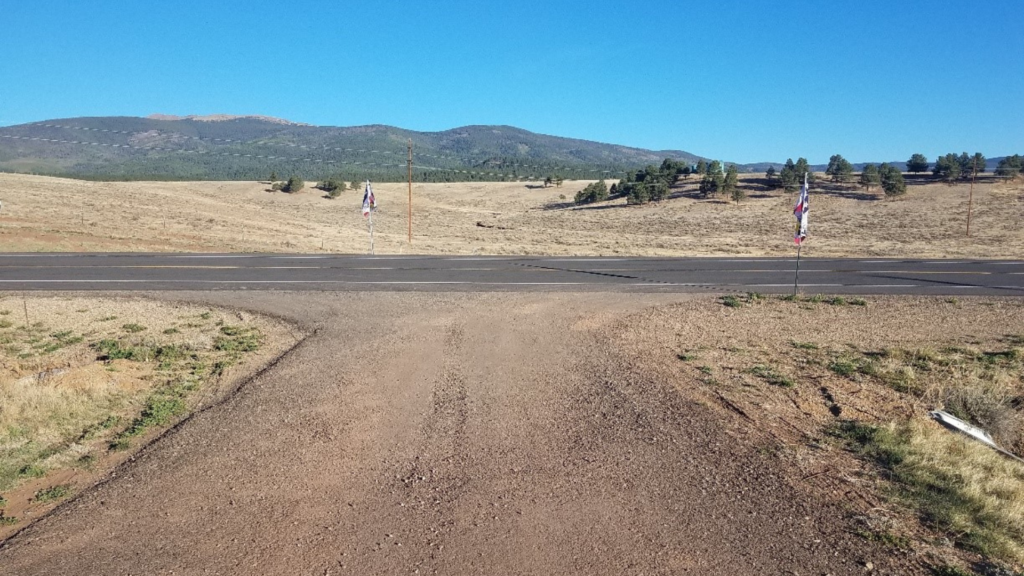
Once the site is prepared, construction begins with building an access road. This road allows construction vehicles and equipment to reach the site safely and efficiently. Properly constructed access roads are crucial for the smooth transportation of heavy machinery and materials.
Next, survey points are established to mark the exact locations where solar panels and other infrastructure will be installed. This ensures precise placement and alignment of all components. Simultaneously, fencing is installed around the perimeter of the site to secure the area and protect it from unauthorized access.
Shown here are Heavy steel piles placed in location of the racking tables prior to install. Fencing is placed around the perimeter of the facility for safety and security.

The foundation of the solar plant involves installing the racking system foundations. These are typically made of steel or concrete and provide a stable base for the solar panels. The foundations must be robust to withstand various weather conditions and support the weight of the panels.
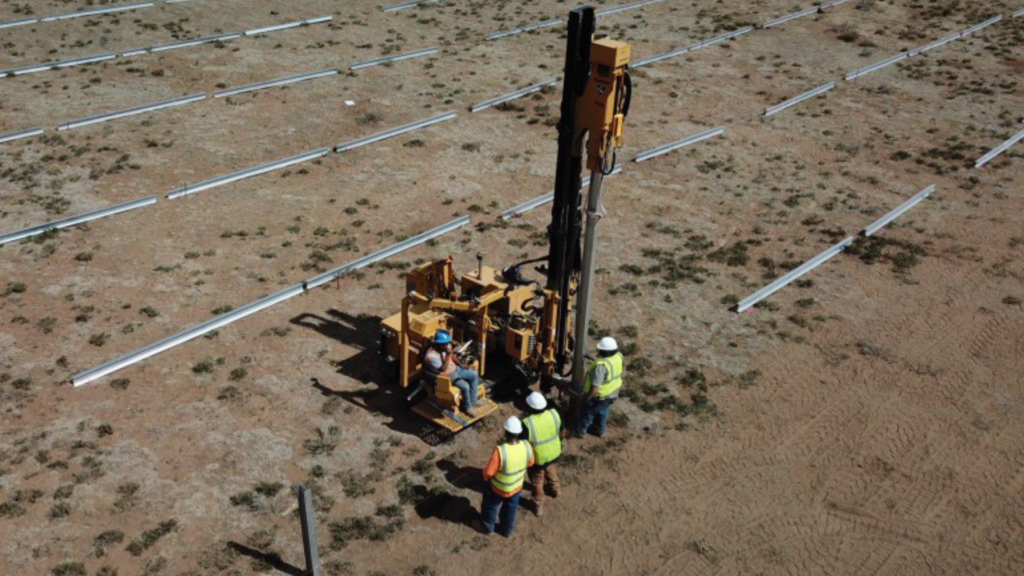
Shown here is driven post installation, where specialized machinery drives the steel pile to the desired depth for structural integrity. Other types of foundations include ground screws, which involve drilling, and ballast systems, which are typically used on brownfield and landfill sites.
With the foundations in place, structural beams and lateral braces are installed. These components form the framework that will hold the solar panels. They must be precisely aligned and securely anchored to ensure stability and optimize the angle for sunlight exposure.
Trenching around the structural foundation has also been completed to carry underground cabling and conduit from the array to the electrical equipment.

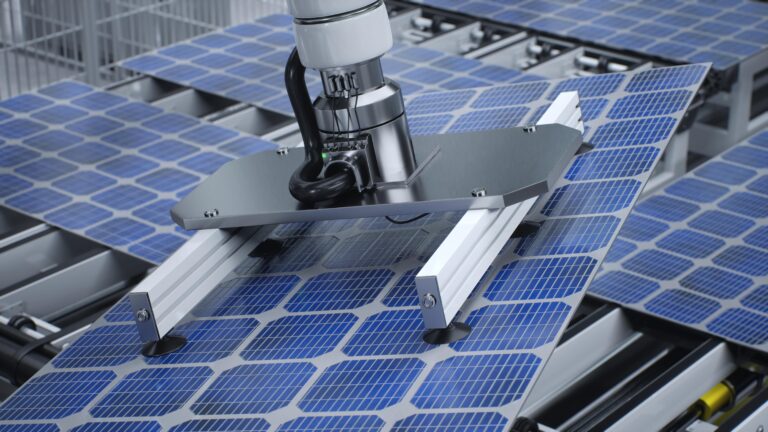
The heart of the solar plant, the solar panels, are then installed onto the racking system. This involves:
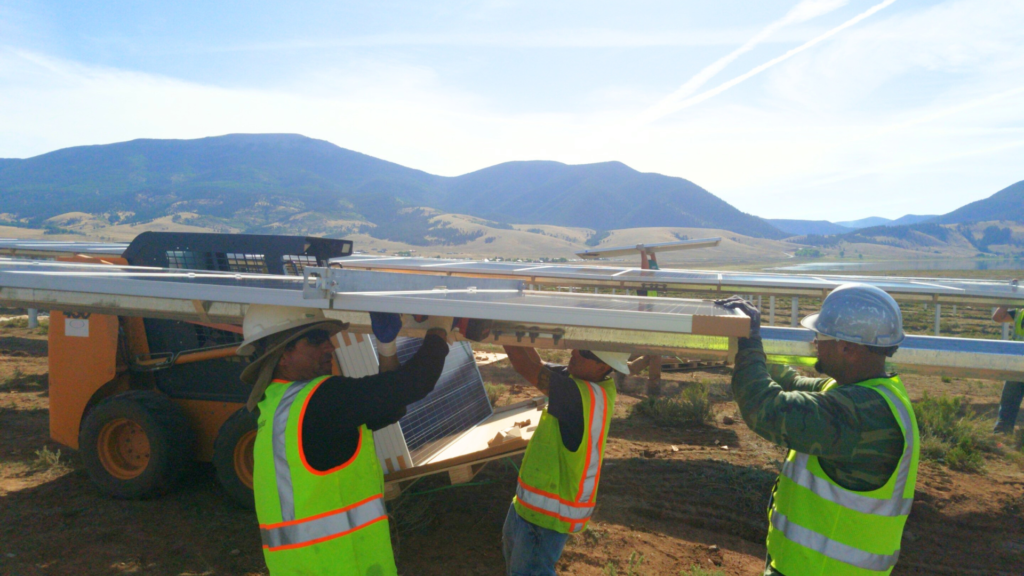
Solar panels generate direct current (DC) electricity, which needs to be converted to alternating current (AC) for use in homes and businesses. Inverters perform this conversion. Installing inverters is a critical step, as they play a key role in the efficiency and reliability of the solar plant.
Transformers and main switchboards are installed to manage and distribute the electricity generated by the solar plant. The transformer steps up the voltage for transmission, while the main switchboard controls the flow of electricity to the grid or storage systems.
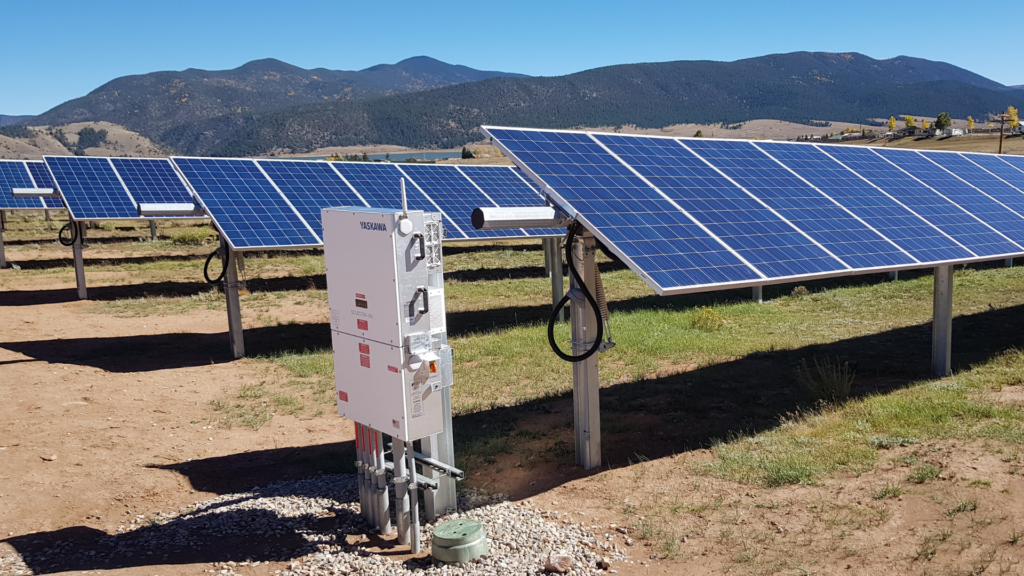
The image below shows the Main electrical equipment such as the transformer and Main Switchboard being installed on poured concrete pads.

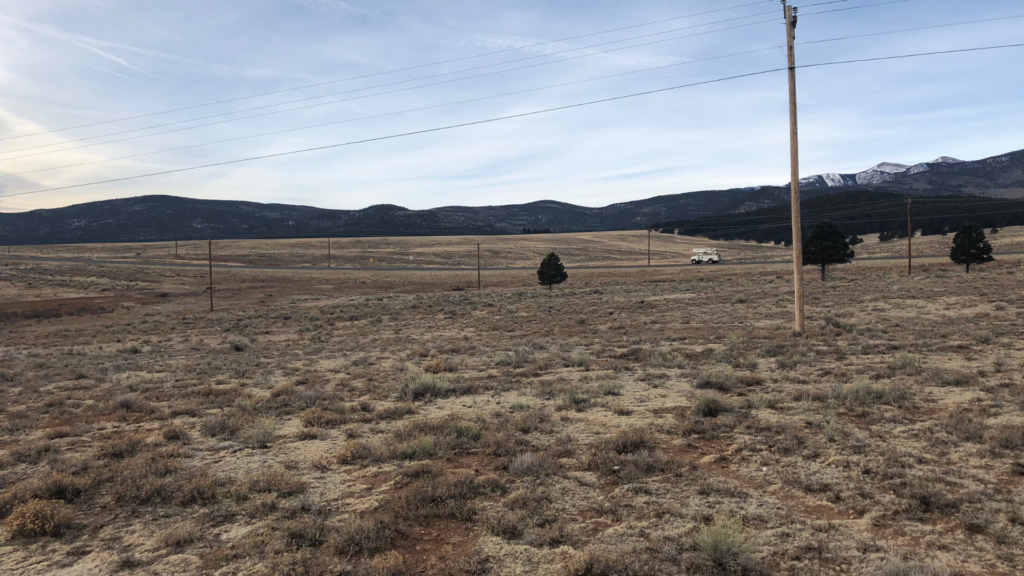
Finally, utility poles are installed to connect the solar plant to the local power grid. These poles support the transmission lines that carry the generated electricity from the solar plant to the utility company’s infrastructure, allowing it to be distributed to homes and businesses.
Existing and new utility poles are installed to carry the electricity generated from the solar facility to the existing infrastructure. Distances to the nearest three-phase utility lines will vary.